In the listing view, you can sort, filter, and search all your rental agreements. The rental agreements can be filtered based on their statuses (active, inactive, draft, in change), buildings, and agreement type (termless, fixed-term, prepayment, accommodation).
The overview can be adjusted by choosing the columns needed. Just click on ‘Change table columns’ and choose the columns you prefer. You can see a maximum of 10 columns at a time, unselect all to return to default columns. When modifying the columns you also have the option to change table filters by clicking on ‘Change table filters’. Again unselect all to restore default status.
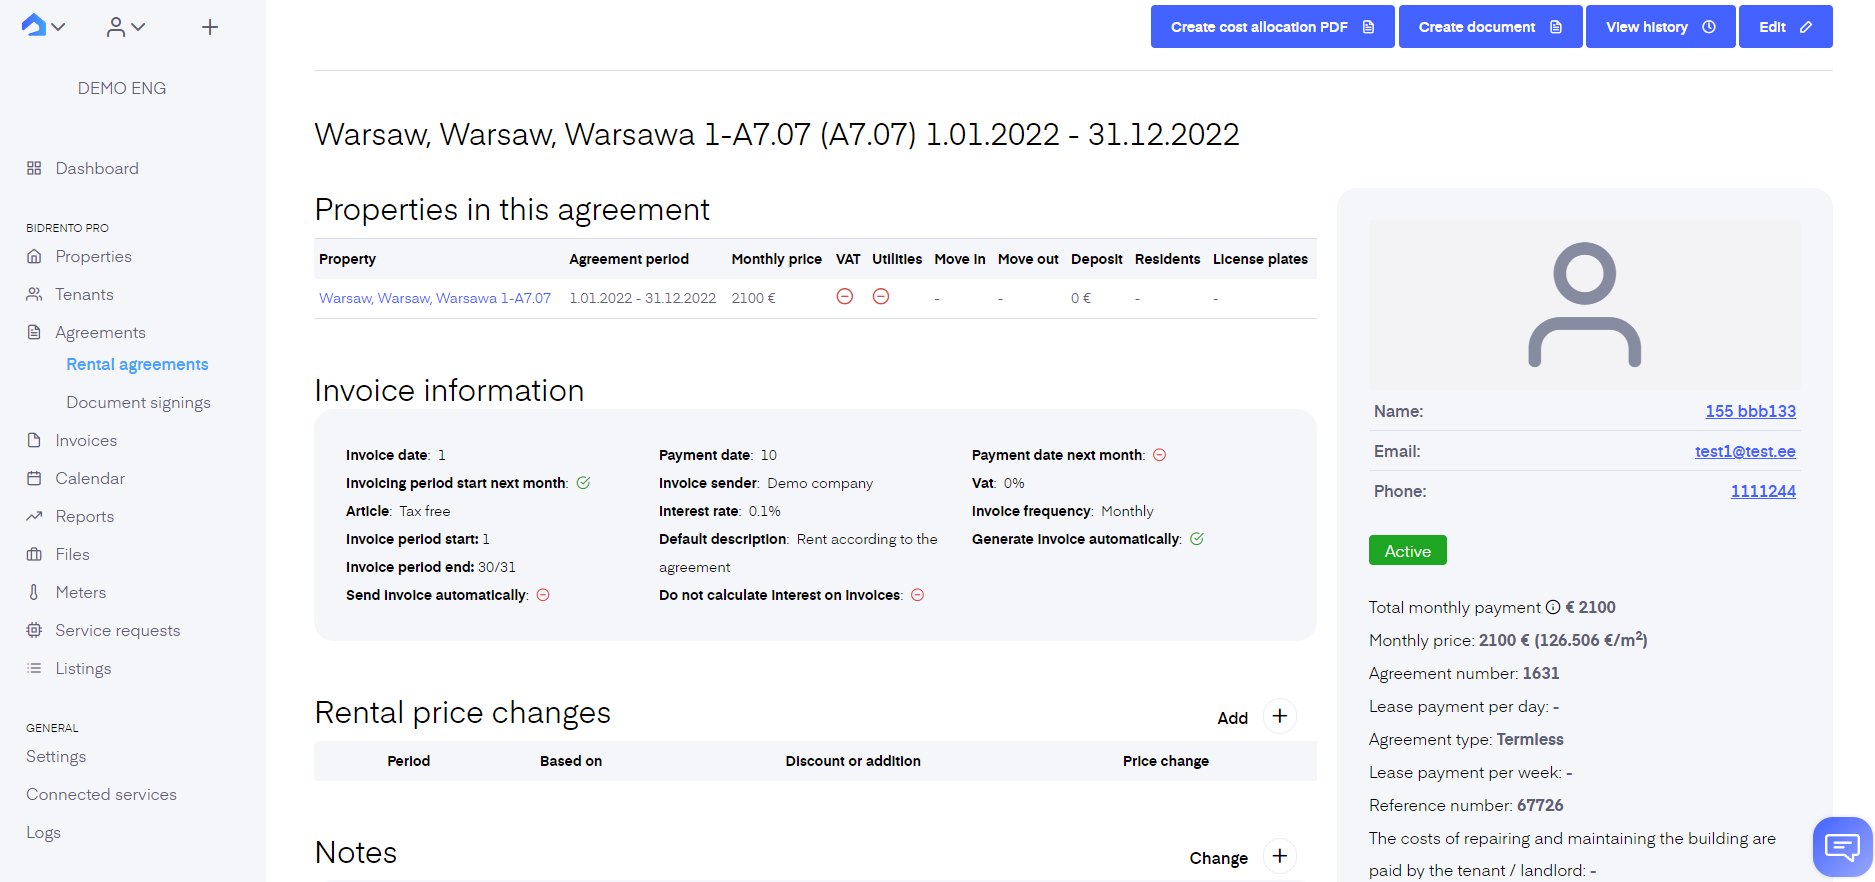
Click on the agreement to open an overview of the agreement details. In addition to seeing an overview of all the agreement information, you can also make some changes to the agreement here. By clicking the ‘Edit’ button you can change agreement information.
 Please note that when you are done editing an existing agreement you need to save the changes. If you do not save the changes, the agreement will remain in ‘In change’ status and the previous configurations are still in place. The changes only become active after they have been saved.
On the right side of the screen, you see the agreement card. The agreement card list the main information about the agreement. You see the contact information of the tenant (if applicable also co-tenants), whether the agreement is active or not. Additionally, you see rows with important information from the agreement. When you need to find quick information about the agreement, you don’t need to enter the agreement’s edit mode, you can just see the main information from the agreement card.
Units in this agreement
Here you see an overview of all the units included in the agreement. You get a summary of the main information- unit name (if the name is too long just hover over it to see the full name), agreement period, monthly rental price, VAT percentage (if applicable), utilities price (if the unit has fixed utilities fee), move in and out date, deposit price, the number of residents and car’s license plates (if applicable).
Utility rows
Any utility rows you added to the agreement are listed here. If you wish to add/remove/edit utility rows just click on the ‘Edit’ button on the top left of the page.
Extra invoice rows
Any extra invoice rows you added to the agreement are listed here. If you wish to add/remove/edit extra rows just click on the ‘Edit’ button on the top left of the page.
Notes
Add any additional notes to the agreement if needed.
Deposits
Deposit management will help you track deposit status and manage it in the way you want. Here you can activate and return deposits to the tenants. More information about deposit management can be found here.
Invoices
This is where you see an overview of all the issued invoices and whether they are paid or not. You can open the invoice by clicking on the invoice row.
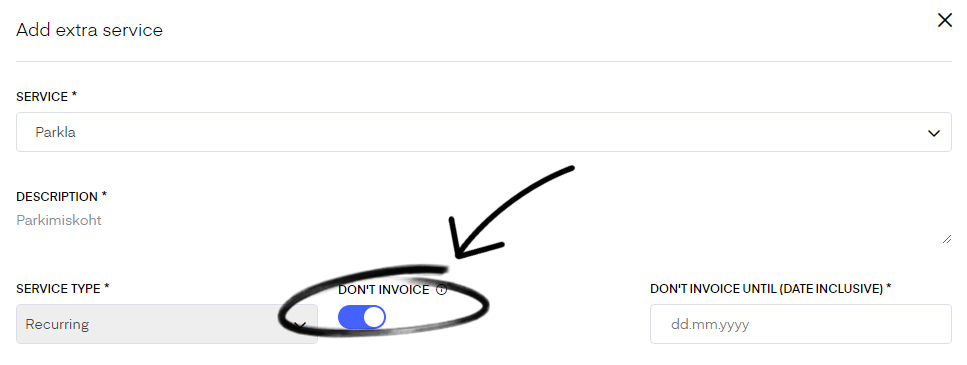
Extra services can be added under the ‘Buildings’ section (link). Here you can add and remove extra services to the agreement.
.png)
Adding an extra service will automatically add the extra service row for the next invoice. If you don’t want to include the extra service on the invoice you can enable the ‘Don’t invoice’ button and enter the date until when you don’t want to invoice the extra service.
This feature is also very convenient, if you have already generated the rental invoices, and then add the extra service to the contract, but would like to add the extra service cost to the rental invoice. In that case, the system won't add the first cost to the rental invoice automatically, and you would have to do it manually. But by doing that, you would then have to add the extra service cost to the rental invoice, and then click on the "Don't invoice" button, and set the date accordingly, until what time the system won't charge the client automatically.
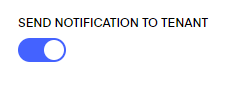
When a new extra service is added to a tenant an email about that is sent automatically to a tenant. If you don’t wish to send a notification about a new extra service being added, just disable the toggle. Email notifications can be also changed in ‘Email templates’.
If you wish to make any changes to existing extra service agreements you can do them here. Changing anything about the extra service here (e.g. the price, article, etc.) will only change it for this agreement. Also, note that if you make an overall change for the extra service under ‘Buildings’ it does not affect existing contracts.
Note that it is not possible to add extra service for the date that is before the agreement start date.
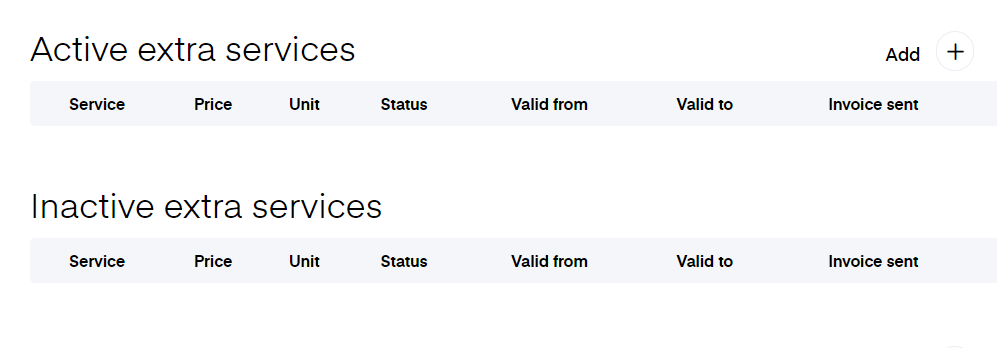
Extra services are grouped in the rental agreement according to their validity - the "Active extra services" section contains only the extra services currently valid in the given rental agreement, and the "Inactive extra services" section only contains extra services that have expired in the given rental agreement.
Keys
Here you can track the unit’s keys. Click ‘Change’ - ‘Add extra key’ to register a key. This opens the registration window, where you can choose what key is it (front door, key card, parking lot key, etc.), then the quantity and who has the key. You can add multiple keys and owners.
Files
You can upload here any additional files that you want to have together with the rental agreement.
License plates
If your unit has designated parking spaces then you can add your tenant’s vehicle’s license plate numbers here. For example, this helps you keep track of which cars can park in the building’s yard.
If your account has a smart home connection you can use the license plate number here to grant access to, for example, the parking house or back yard.
Rental price changes
A tab "Rental price changes" is represented separately to make it easier to adjust and track any changes applied for the specific agreement. You can either add a temporary price changes, scheduled price changes or a rent indexation.
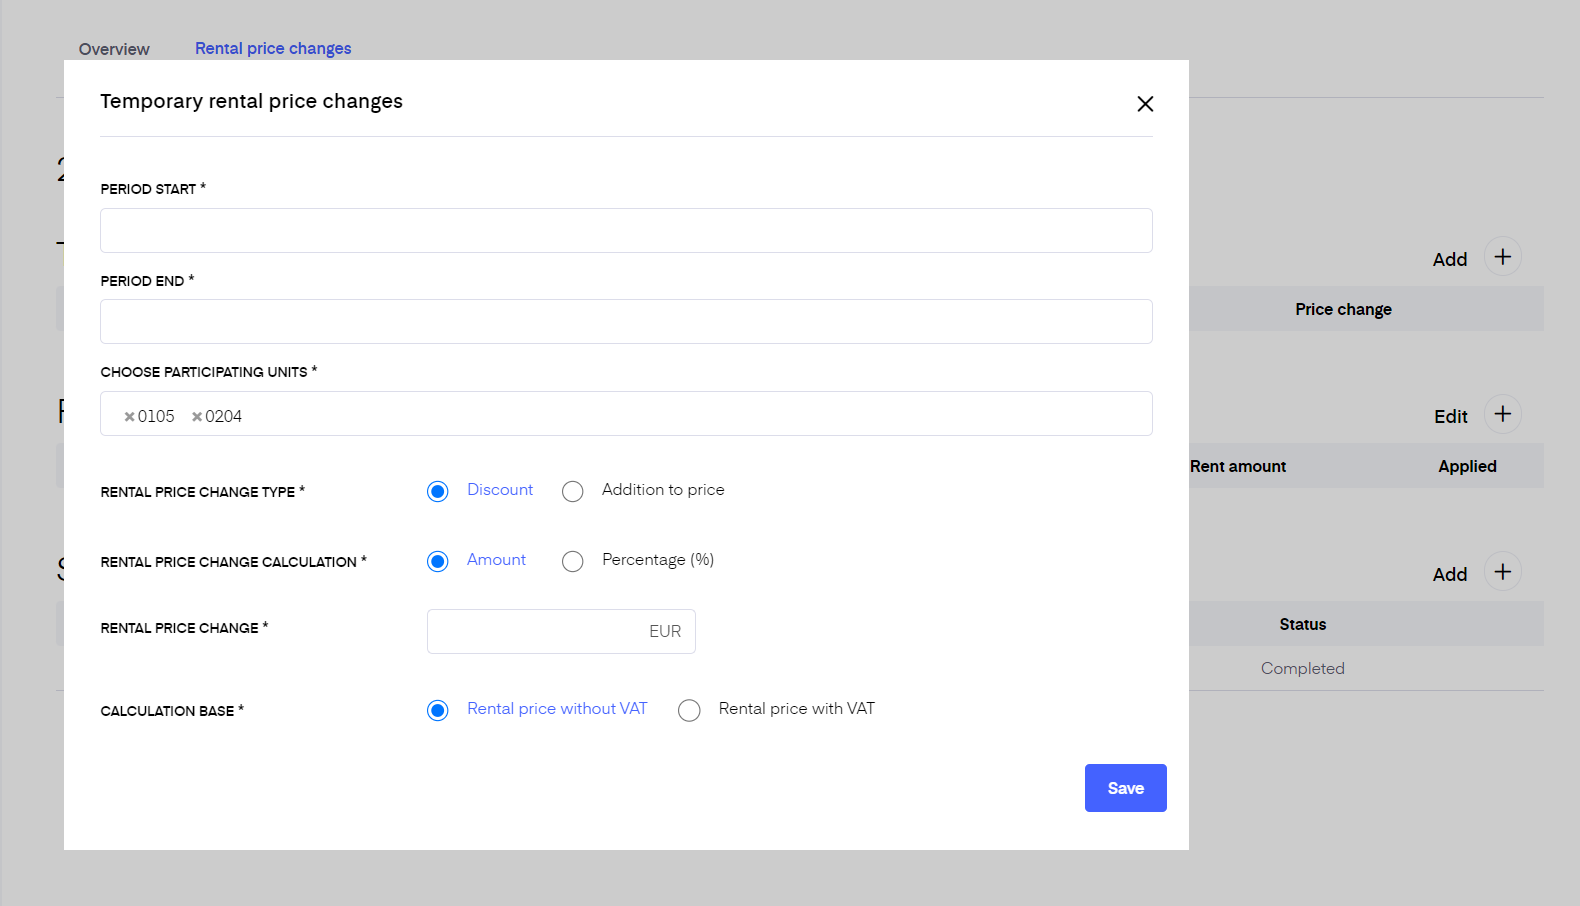
Temporary price changes
Can be either a discount or an addition to the defined rental price in the agreement for the specific period.
Find each field’s description below-
Period start - the beginning of the price change
Period end - the end of the price change
Choose participating units - here you can choose for which units (in case you have multiple units under one agreement) the temporary price change applies
Discount or addition - click on the desired type
Amount or percentage - click on the desired price change calculation
Rental price change - enter the change either as an amount or percentage
Calculation base - click on the desired base
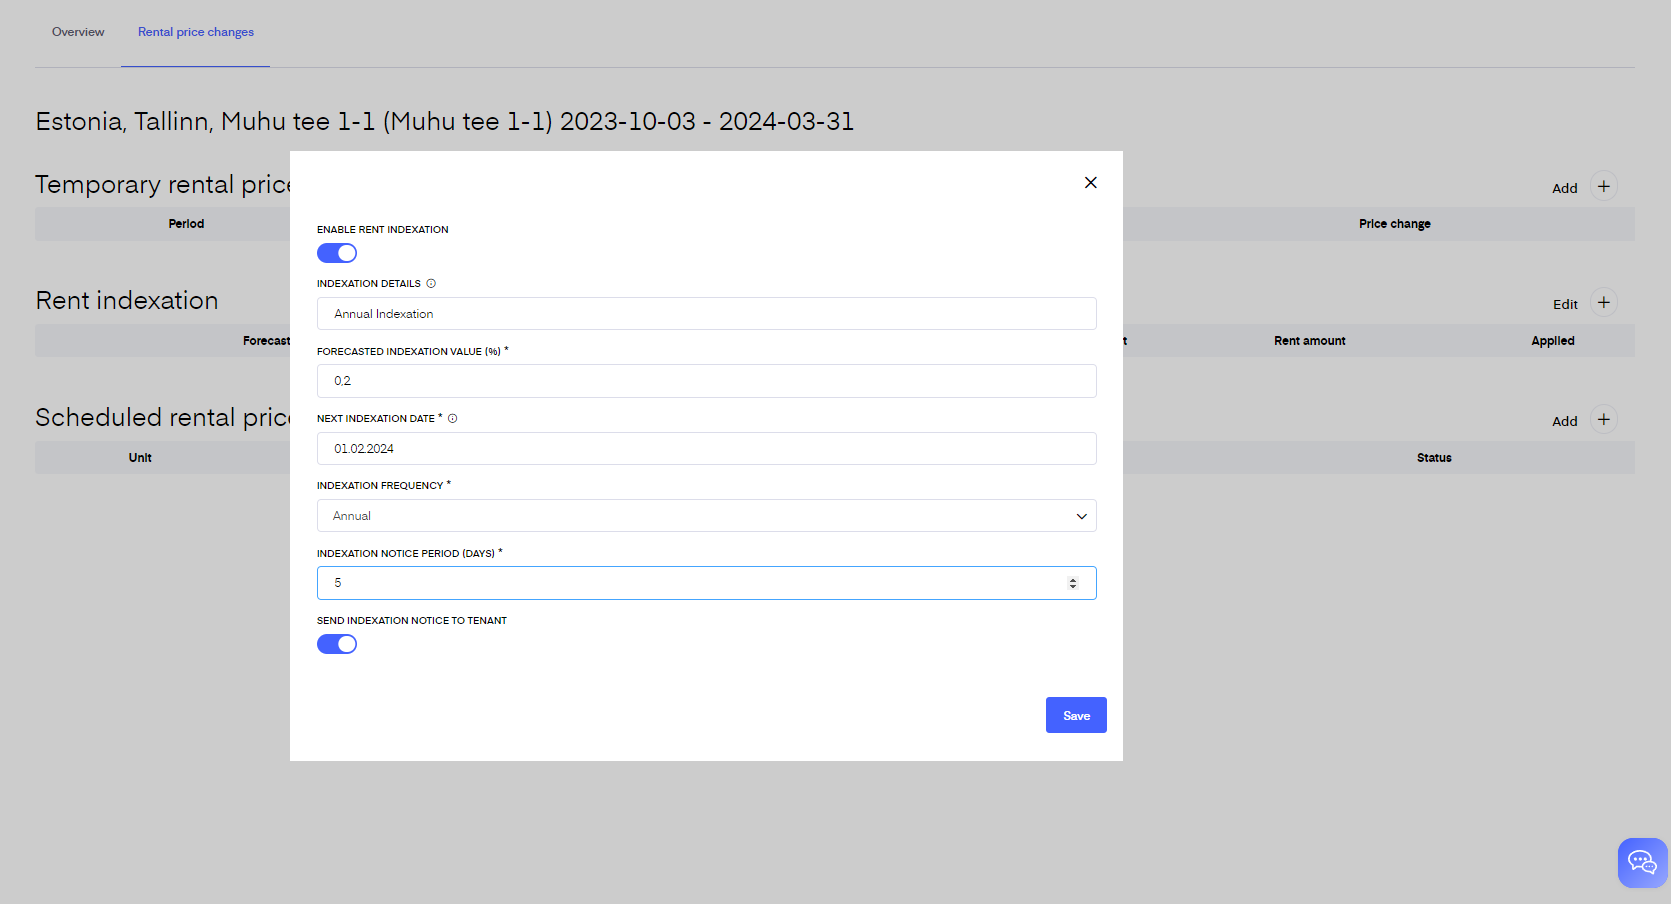
Rent indexation
It means that every year, on the date on which the contract entered into force, the rent for your accommodation may be adjusted to the cost of living. To enable rent indexation click on the plus (‘+’) button next to the ‘Rent indexation’ title and enable the toggle which appears on the pop-up screen.
Enabling the toggle opens extra fields. Fill in the fields accordingly and click ‘Save. Now your agreement’s rent will be raised automatically based on your input. After setting it up you will see an overview of the next indexation with the new rent amount.
2 weeks prior to indexation start you as a landlord will receive email notification about the upcoming rent indexation if the toggle "Send indexation notice to tenant" is disabled. In case it is enabled the email to landlords are sent 2 weeks+number of days defined in "Indexation notice period(days)".
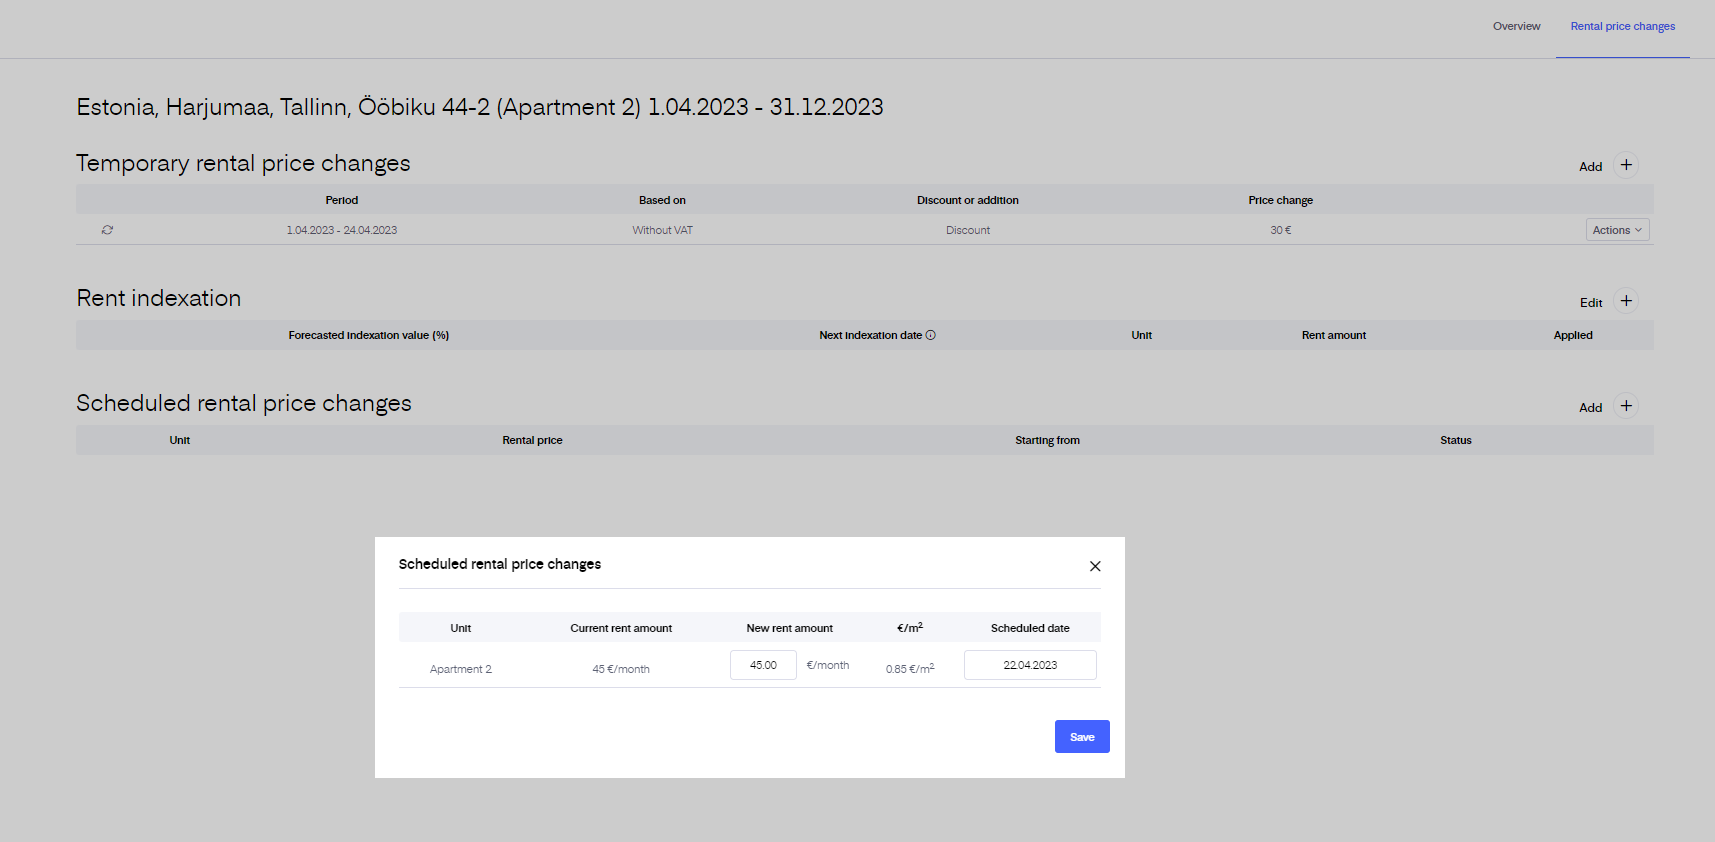
Scheduled rental price changes
If You already know which price will be applied in the future - a few month or a year - You can directly set the changes in this section. It will prevent from forgetting to add the price adjustments if You already know the day the price will rise/fall.
After clicking on "Add" button, You will see the unit(s) in the specific agreement and the current rental price. Add a new rental price and choose the date when this price will be applied. The system will automatically change the previous rental price to the new one. Changes will be reflected on invoice automatically.