After creating a building cost rule template, you can start cost allocation by selecting the Allocations list section and clicking the 'New Cost Allocation' button. In the opened view, you can select the desired building and the period for which you want to allocate the costs. When saving, you will be redirected to the view of the expense types for the desired period, where you can also change the expense types if you wish.
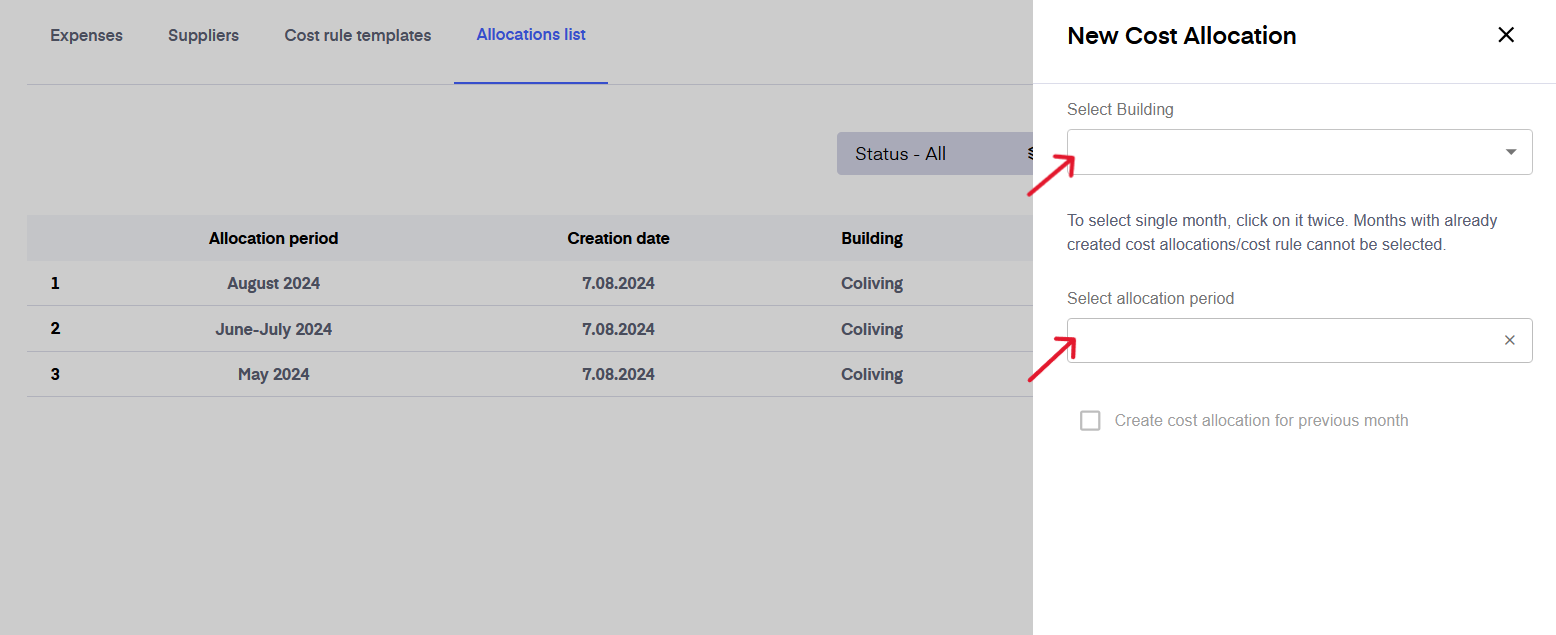
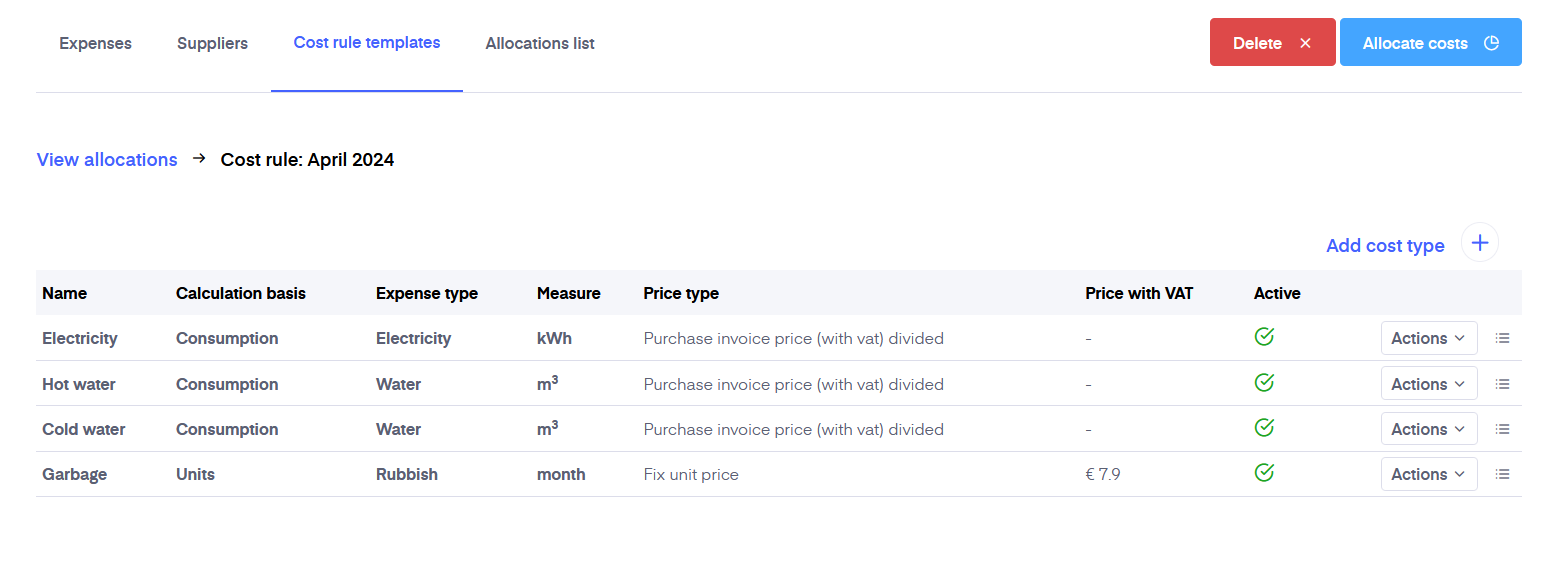
Now that you have created a cost allocation for the desired period, you can start entering purchase invoices.
To add a new expense, go to 'Invoices' - 'Expenses' and press 'New expense'. This will open you a cost entry page where you have to choose whether you want to enter an owner cost, a transferable cost or a cost allocation. Select "Cost Allocation" to make a cost allocation. Fill in the desired fields and save the purchase invoice.
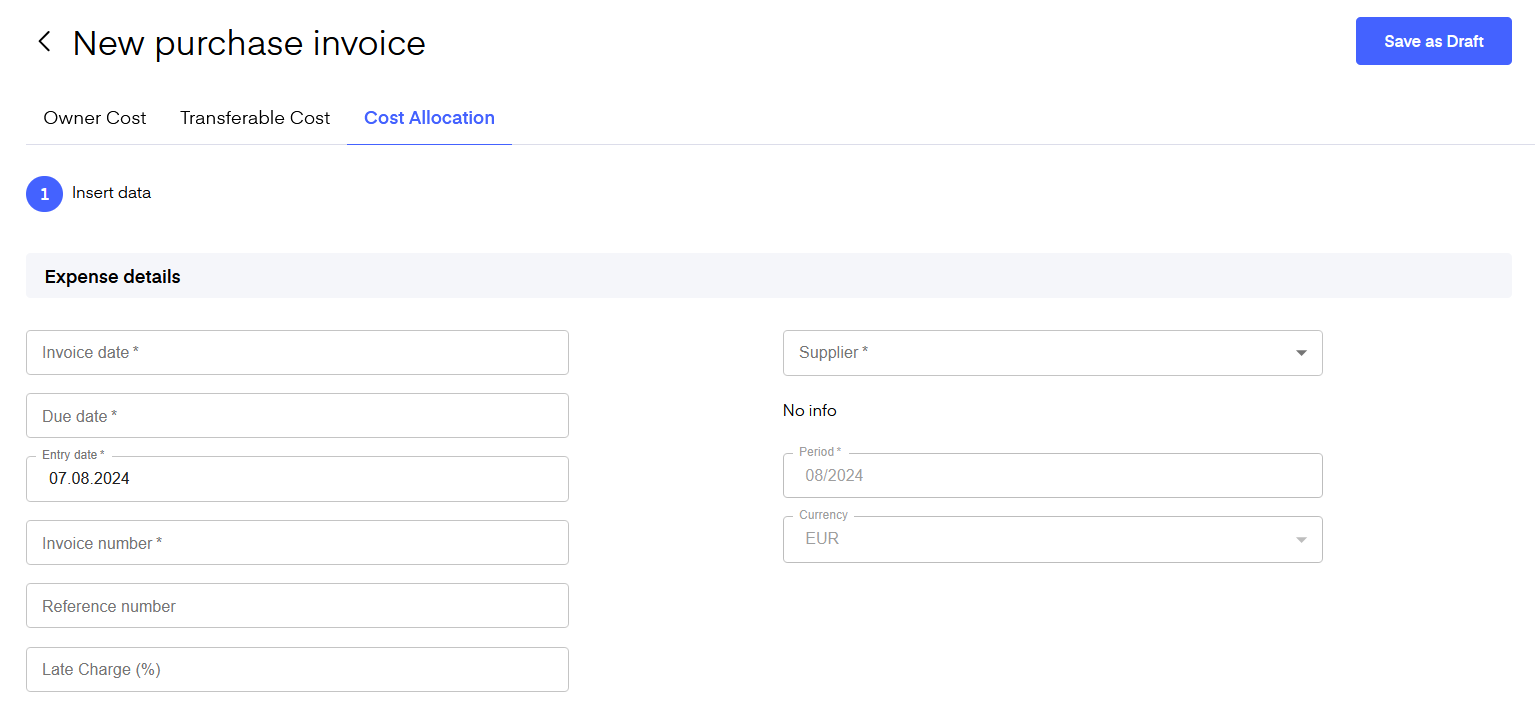
After saving, the entered purchase invoice appears in the "Expenses" view and has an "Not allocated" status.
To allocate a cost, go to the "Allocations list" view and open the cost allocation period for which you entered purchase invoices.

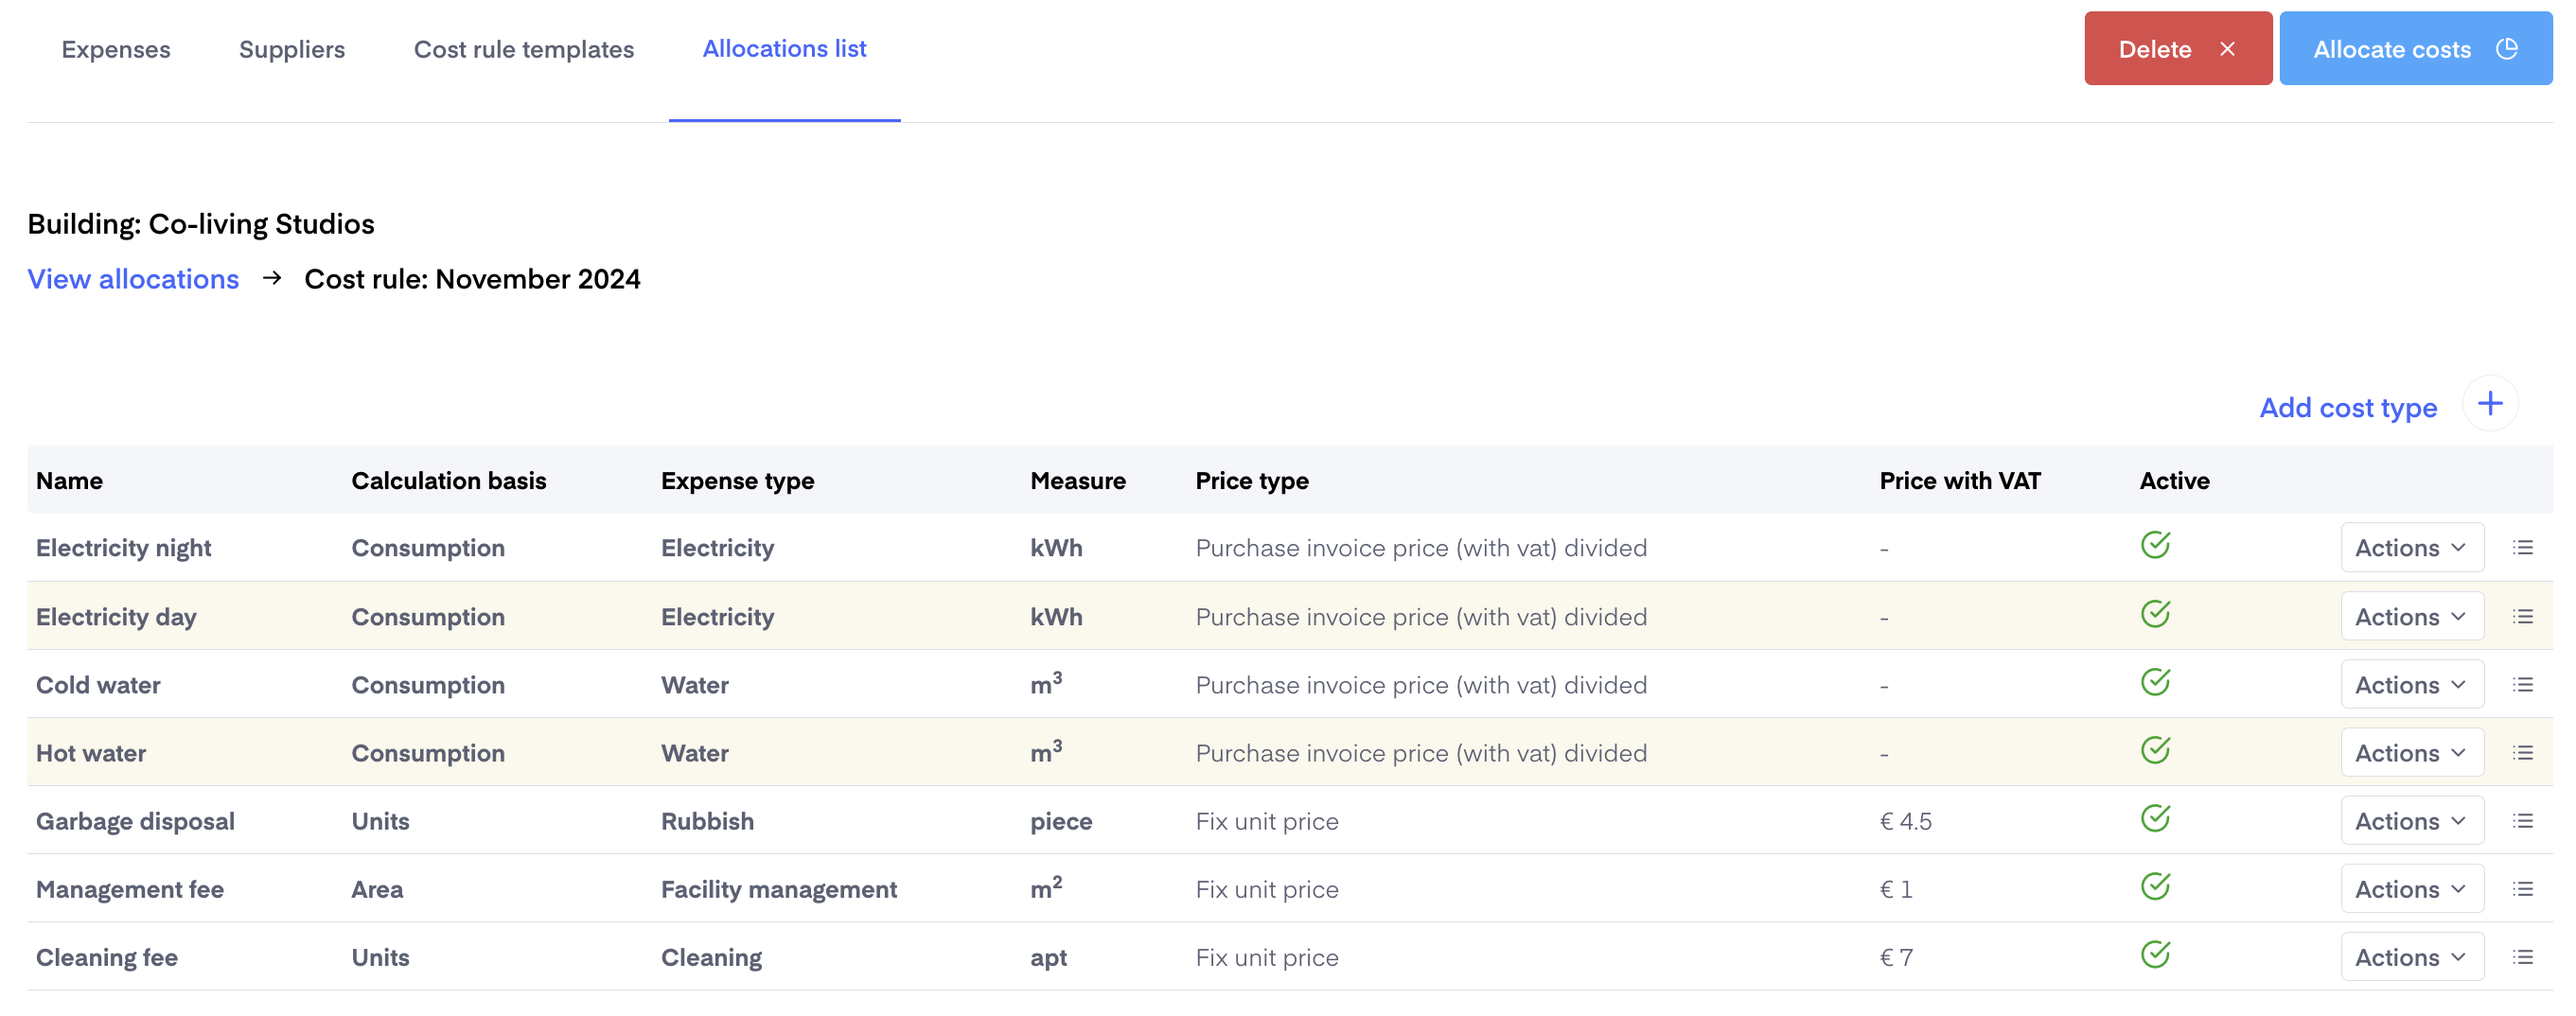
In this view, you can check and, if desired, add more expense types to the cost allocation for the given period. If everything seems good, you can allocate the costs by clicking on the "Allocate costs" button.
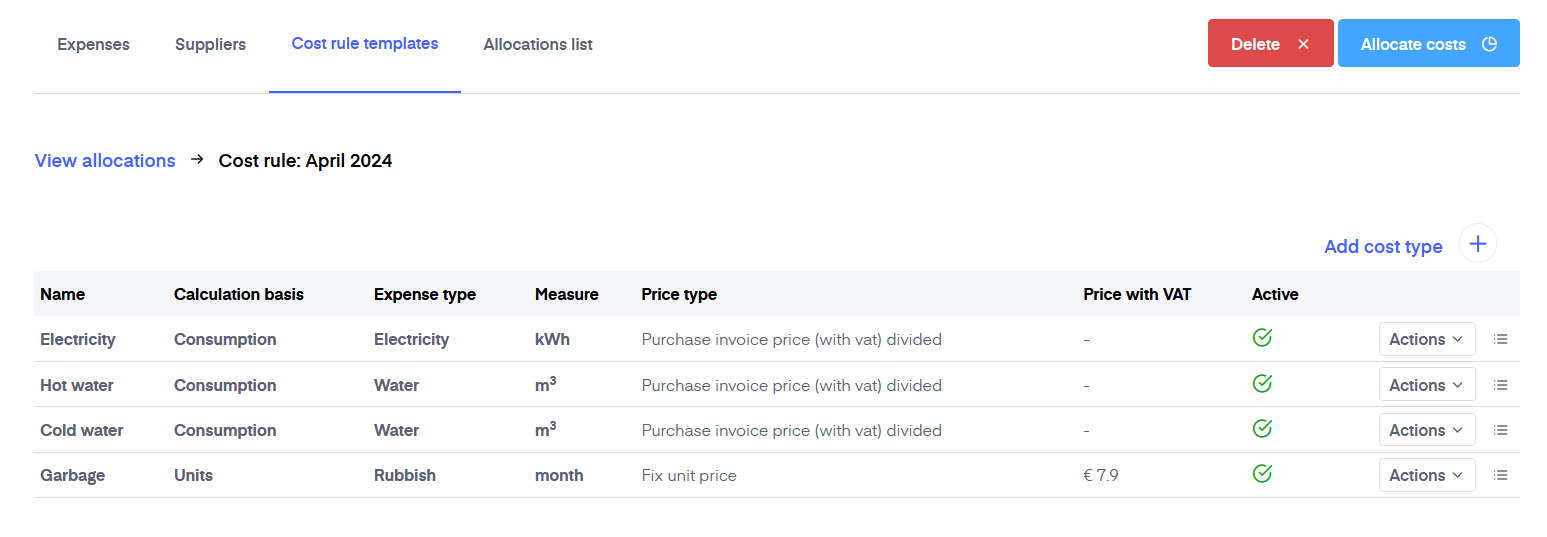
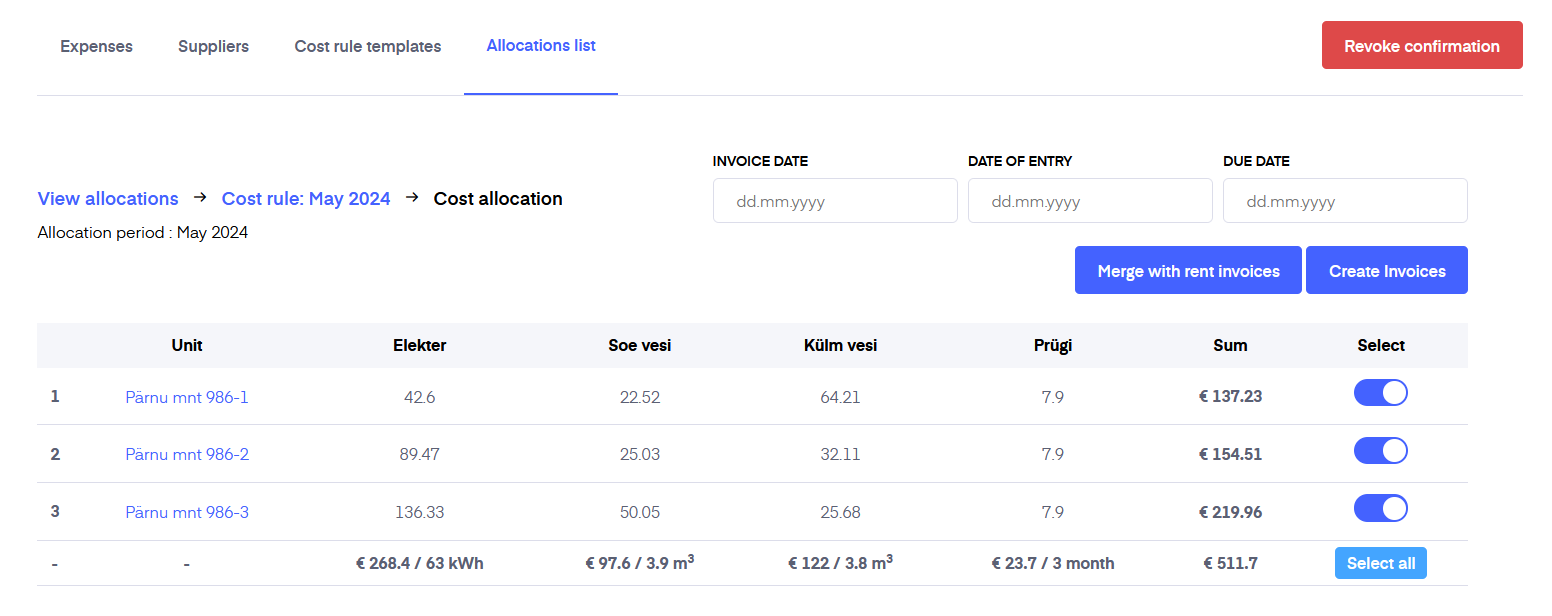
After allocating costs, you can check them and confirm them when ready.

After confirming, you will be directed to add utility costs to the rental invoices by combining them or issuing the utility bill as a separate sales invoice. If you want to combine an invoice with a rental agreement invoice, remember that you must have previously created rental invoices, but not sent them out yet, because only then can they be combined.
To do that, click on the "More" button in the top right corner, and choose "Generate cost allocation report".
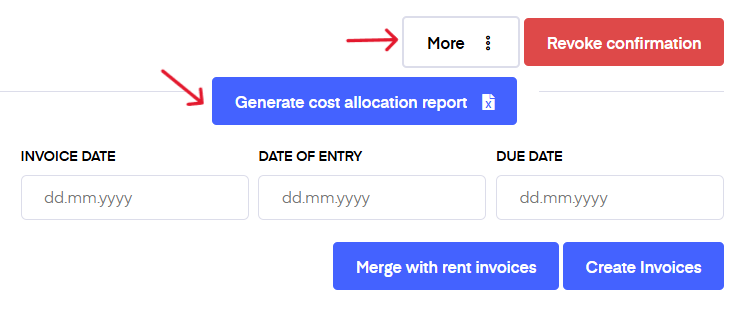
Note that before generating invoices you can specify the invoice date, date of entry, and due date of the utility bills. If you leave the fields blank then the invoice date and date of entry will be the current date and the due date will be 10 days from the current date.
The utility bills are generated based on the active rental agreements of each unit. If some rental agreement is not valid for the full month, the system calculates the correct proportion taking into account the number of days the agreement was valid.
NB! If you have some consumption-based costs to allocate, then note that you need to have entered the initial meter readings when issuing the first invoice or the final meter reading when issuing the last invoice for the costs to be calculated correctly. If you have not done that a warning window, where you can enter the initial or final reading, will appear after clicking either ‘Merge with rent invoices’ or ‘Create invoices’ indicating which meters are missing the readings. This is to assure that the allocation will be correct.